Monday, January 31, 2011

Friday, January 28, 2011

I'll take that in HD please...


480p from a phone isn't that bad...


But HD from a cell phone is always better.....


Duals always are better....

Things have been moving slowly around the shop.  I am deep into refinishing some funiture and since this is not Vintage Woodworks, I will spare you all the details.  Anyway, I still wanted to post something, so I dug this up from the past project folder.

I had a customer that wanted me to split an exhaust manifold for a 218 dodge flathead in a '47 plymouth coupe.  I repeatedly told him that I have never done this but he was adimate that I give it a whirl.  Besides, I always wanted to try and why not make some cash on the side doing it? 

I started with a couple of original manifolds.  One had a couple of broken tabs so it was sacarficed as the donor manifold for the outlet.


The unwanted parts were cut out and the nesaccary pieces were fitted with as close of fit as possible. 


Cast iron can be a major pain in the ass to weld, but it doesn't have to be.  By taking your time and using the correct materials and procedures, many of the common complaints can be avoided.  First and foremost, it is imperative that you be able to control the heat during preaheating, during welding and during the cool down period.  Cast iron is brittle and has virtually no ductility.  When heated, cast expands at a tremedous rate and when it cools down, the forces of the contraction can be much high than the tensile strength of many filler materials.

For this project, I tried a cast iron rod and flux that my locl welding supply sold me.  I do not know if it was me or if it was the material, but I could not get it to join two pieces together.  It was fantastic if I was trying to build material up for machining.  So, I ended up using a 308 stainless rod.  Stainless has a high nickel content and the nickel is what makes this process so user freindly.  As you weld, the molten nickel rod mixes with the high carbon cast iron.  The nickel allows the carbon to dissolve to form a high nickel/carbon mixture.  As the part cools, the carbon seperates out into graphite ant the molten nickel/carbon mixture turns into a material mostly made up of nickel with graphite dispersed in it.  The mixture now has enough ductility to be able to contend with the forces associated with contraction of the cooling material and thus, not crack.

I used my BBQ grill to preheat and cool the cast at a controlled rate.  I preheated it to as high as the grll would go and then used a torch to get the areas where I want to weld to a very dull red.  Once I was done welding, I placed the manifold back into the grill and slowly lowered the heat over several hours until it was cool enough to handle.


mmm, tasty

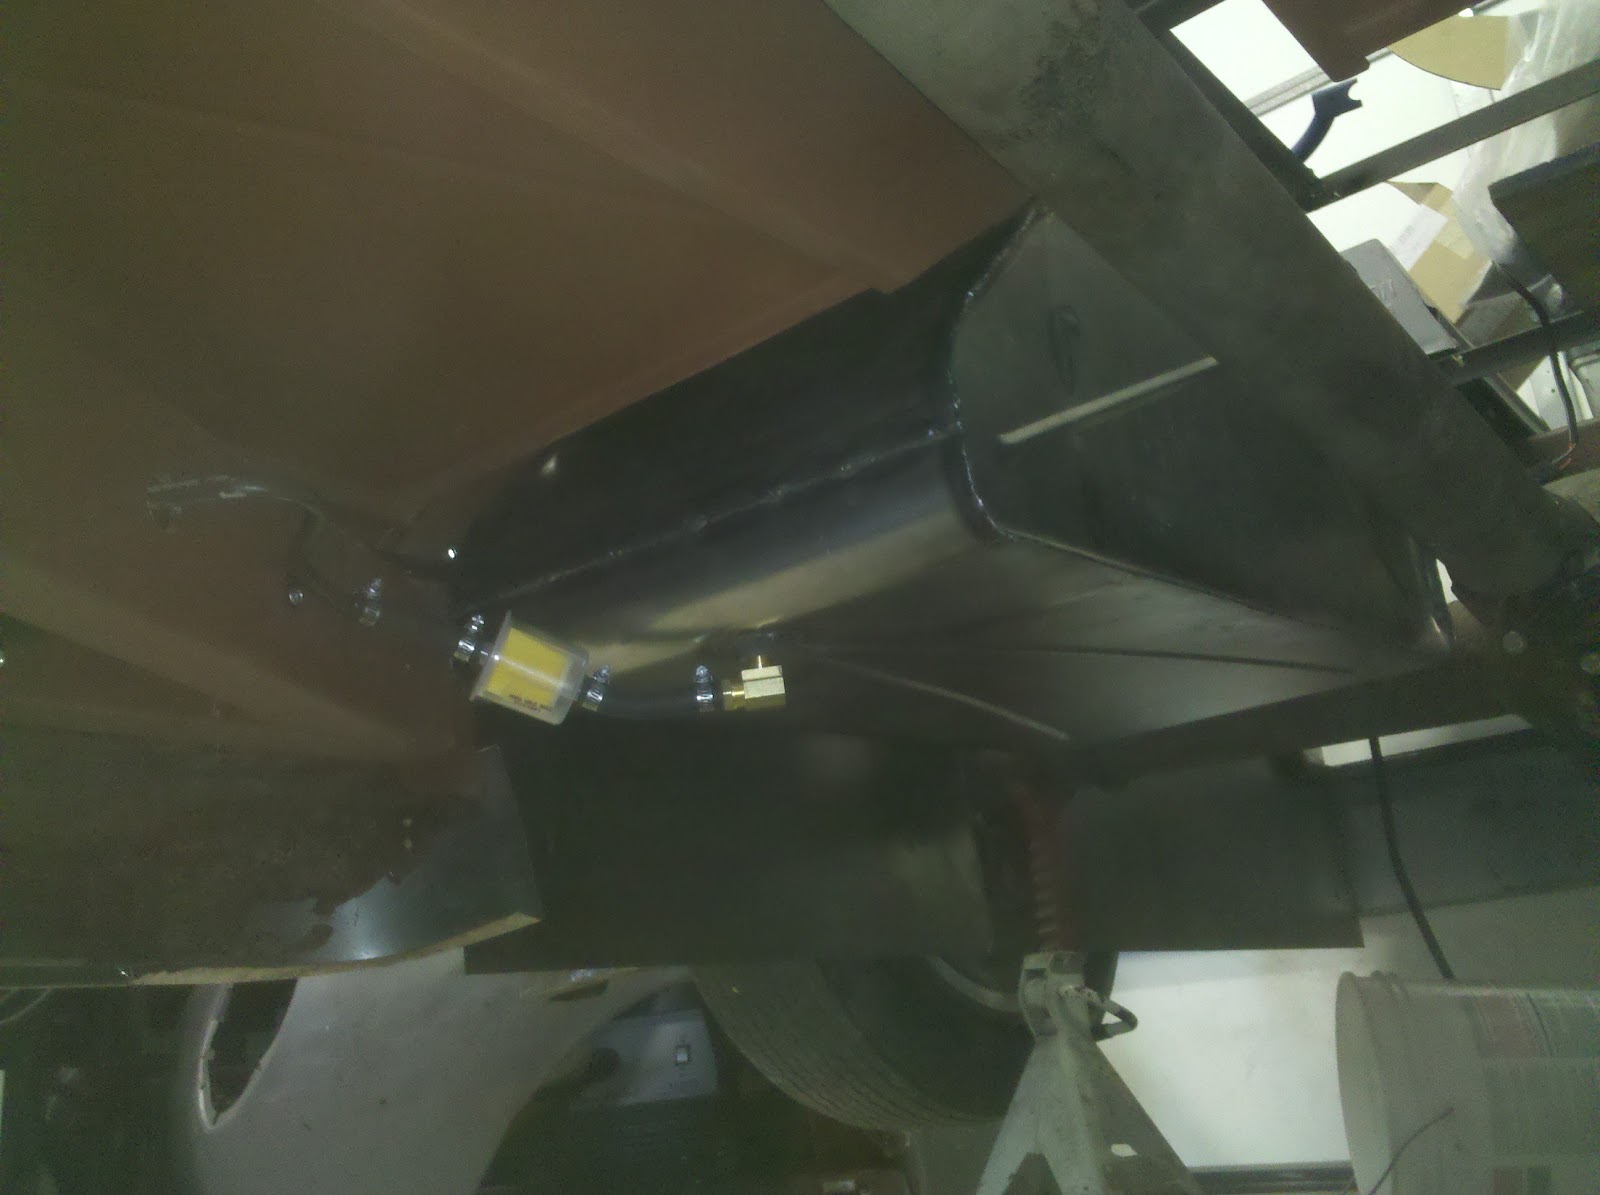
Once everthing was cool, I ground the welds down and visually checked for cracks.

Sunday, January 23, 2011

Broken bits = chatter...

When you read any of the forum boards about Fadal machining centers, inevitably the topic of belleville washers arises.  I noticed many Fadal owners talk about broken washers and their experiences of replacement but I never gave too much thought on the subject until now...


Of the 19 belleville washers that provide the spring tension to hold the tool holder in the spindle, there was only 18 installed and over half of them were broken.

#406 always seemed to be very touching when it came to trying to prevent the tool form chattering.  When cutting a part, it would seemingly enter into a rage of tooling distress almost entirely at random.  By the time I could react with the speed and feed override controls, the chatter would go away also most as fast as it came to be.  It is as if the chatter was lying and waiting for an opportunity to strike and cause me grief.  This wouldn't happen at times when you would expect it the chatter, like entering a tight corner in a pocket or changing direction.  No, it would be along nice straight even cuts and never did is seem to happen in the same area of the table.

With the help of the guys at cnczone.com , we got it fixed and the machine runs nice a smooth now.....at least during the test cuts that were done.  However, I am sure I haven't heard the last of the chatter.....

Tuesday, January 18, 2011

Wintertime fun...

Most people here in northeast Ohio complain about the snow. Obviously, they do not own a couple of cheap vintage sleds...oh yeah, around 0:57s mark in the second video, I about fall off....


The first is my '81 John Deere trailfire, the second is my brother's '90 Formual Mach 1 ski doo.

Monday, January 17, 2011

Exhausting...

Before I can actually start the '40 and hear it run, I want it to have an exhaust.  The main reason for this is because I want to be able to hear the engine in case something bad decides to happen.  Now, I did not do a rebuild, nor did I even go to the extent to give it the Sherwin Williams overhaul.  I simply pressure washed it and stuck it in.  I mean after all, the stand up individual that I received the engine from said it ran, so, I guess that is good enough for me.  Besides, 235 Chevy 6 cylinders are quite readily available on the cheap.

When I build headers, I usually start with a pile of combo bends from Speedway Motors.  These bends have the most consistent tubing shape though the bend that I have been able to find.  They are not overly priced either.  I like using 18ga on hot rods and such where weight is not overly important because the added thickness allows for grinding and finishing of the welds without making the walls too thin.  I should have taken some shots as I was tack welding the pieces together but I was lazy and did not.  This is what you get...

 The welds still need to be ground and finished.  Typically, if you tig weld, a right angle grinder with a 2 1/2" roloc disc is sufficient enough the finish with.  If you use a mig, I would recommend to start with a 4 1/2" angle grinder to remove most of the weld material then proceed with the right angle grinder.  I'll follow up with a used worn out roloc disc to remove some of the deep scratches and then polish with 180 grit emery cloth and eventually end with a 220 grit orbital sander.  The polishing step is by far the worst part of the entire process, but it is the most critical.  If you want to get the headers ceramic coated or even chromed, all of the scratches have to be removed.  You might be thinking that the ceramic coat will "fill in" some of the scratches.  It does not completely.  It is, though, much more forgiving that chrome.  Think about it, why is chrome so expensive?  It is not the cost of the actual chrome, but the prep work of polishing the the raw metal to remove all of the imperfections and scratches.  Here are some headers I have build...


Also, I figured I would throw in a shot of the gas tank recently covered here all installed and plumbed.

Tuesday, January 11, 2011

Finally finished the tank...

I found some time to finish the tank up for the '40.  I added a baffle before everything was welded tight.  Since the outlet was at the front of the tank for plumbing convenience, I didn't want to starve it when the truck was accelerating.

I also found these weld in tank fittings at mcmaster.com that made things quite a bit easier.


I added some mounts to securely attach it to the bed frame.  I originally wanted to attach to the chassis, but the way I built it and where the tank is located, it would have been very difficult to do without adding a unnecessary cross member. 

Monday, January 10, 2011

Old # 406...

I have wanted a cnc mill ever since I started working in a machine shop in high school.  I had no idea how to run or program one, but I knew I had to have one.  I started looking for one in earnest about three years ago.  At the time the machining industry was still going strong and prices of decent machines were still way out of my price range.  I went back and forth between finding a 2 axis cnc knee mill to a full legit VMC to trying to retrofit a old machine myself.  After keeping my eye on several vmc's on that Internet auction site, I ran across HGR Industrial Surplus in Cleveland, Ohio.  Their website is awesome, take a look.  HGR    I watched their site for several months until this came available:


I knew nothing about Fadal's but my coworker Jersey Tom ran one in college.  I figured that was a good enough reason, so a deal was made and #406 was brought to the shop.

The mill is a vintage 1987 model with vintage 1987 circuitry with a vintage 25 pin RD232 port.  The initial hurdle we had was finding a computer that had a RS232 port.  After that, we found out that the communication board was bad, probably the reason why the company sold it to HGR in the first place.  After some google searching, I found http://www.fadalvmcparts.com/  I talked to the owner, Dave, about our problem and he suggested that we find updated drive boards out of a newer machine to replace our old ones.  Not only would address our communication issues but it would greatly increase the machine's memory from the whopping 40Kb it originally came with.  As an interesting tidbit of useless knowledge, Dave also told me that he was one of the original owners of Fadal before they sold it in 1995 and that Fadal is an acronym for his father's and brother's names, pretty cool.

Francis, Adrian, David And Larry

About the same time, I was on a business trip for my full time job.  Over dinner one night with a customer, the conversation turned to machining and eventually to my situation with the Fadal.  He suggested that I contact one of his friends who has a machine shop and possibly some extra parts.  Well, it turned out that he just scrapped 3 complete Fadal machines do to fire damage recently at his shop but kept all of the circuit boards.  I ended up working a deal out for the boards and sent them to Dave to let him work his magic.  I got them back, plugged them in and instantly brought my machine into this century.  Everything worked great, I could now communicate and start to machine.

Tuesday, January 4, 2011

A new year, a new project...

After a few uneventful days off in Iowa, I decided I needed to start another project.  This one is different from most of my others however, it is aimed at actually helping me earn some money instead of spending it.  It all started with this ’97 Dodge ram dually that I bought at an auction several years ago simply because it was a good deal.  My original intention was to turn around and resell it hopefully making a little bit of cash.  Well, I never would have fathomed how useful a 4x4 diesel truck is to have around until I started using it.  Now, I am tyring to raise some funds to finally build a shop large enough to house my collection of machinery under one roof and the decision was made that the truck must go.  However, the truck is in desperate need of tires.  Instead of just buying 6 good used tires the correct OEM size, I acquired a set of 19.5” diameter Alcoa rims with tires through trading some machining labor on a past job.  But in order to use them, I need the help of an adapter kit.  You see,  the bolt circle of the Dodge truck is small and the bolt circle of the 19.5’s are large, really large. 

I was not satisfied with the kits commercially available so I figured that I could make my own.  Part on this decision was based on having a CNC mill sitting in my shop and I constantly on the hunt for work for it.

Believe it or not, the hardest part of this entire project was finding the studs for the 19.5’s at a reasonable cost.  The local parts store wanted $9 each for the studs and another $7 for the lug nuts.  That adds up quickly, especially when you need 32 of them.  I did eventually find studs for $3.75 each and lug nuts for $3.53 each on line.  Quite the savings, but still, I need 32 of them.

So after a couple hours of machining in the old Fadal, I went from this: 
to this:


And after getting a chance to get the truck into the shop, I ended up with this:

I still have a little bit more to do, like machine three more adapters, but at least it worked without haveing to make any major changes.